The login screen for WordPress is functional and can be made more secure through security plugins. However, wouldn’t it be nice to see something unique when accessing your interface? Perhaps you want to give a more engaging visual for registered users or team members.
Like many other parts of the management system, it’s not difficult to create a unique WordPress login page. In fact, there are several ways you can do this without touching a single line of code.
In this tutorial, we’re going to show you how to change the login page to give it more of an individual appeal.
Why You Should Care About the Login Page #
If you’re the sole user of the website, then there probably isn’t a real need to alter the login page. However, giving it a sense of style can be quite engaging for other users. Instead of the basic giant “W” WordPress logo, they can be faced with something far more attractive.
It’s often the small visual adjustments that keep visitors interested in a website. Making it seem more unique and less of a “cookie-cutter” login screen keeps the site in memory as something more. Besides, showing off your brand in this manner helps it resonate within your guests more than the default WordPress logo.
Using Custom Login Page by SeedProd to Change the WordPress Login Page #
Plugins can do a myriad of things for a WordPress website. In this instance, it’s altering the look and feel of a login page that we’re looking for. In this example, we’re looking at the Custom Login Page plugin.
While the free version of this plugin has a lot of options for customizing the experience, the pro version includes slideshows, videos, Google Fonts support and many other features. If you’re looking for a solution for multiple user access, this may be the plugin for you.
To install and set up Custom Login Page:
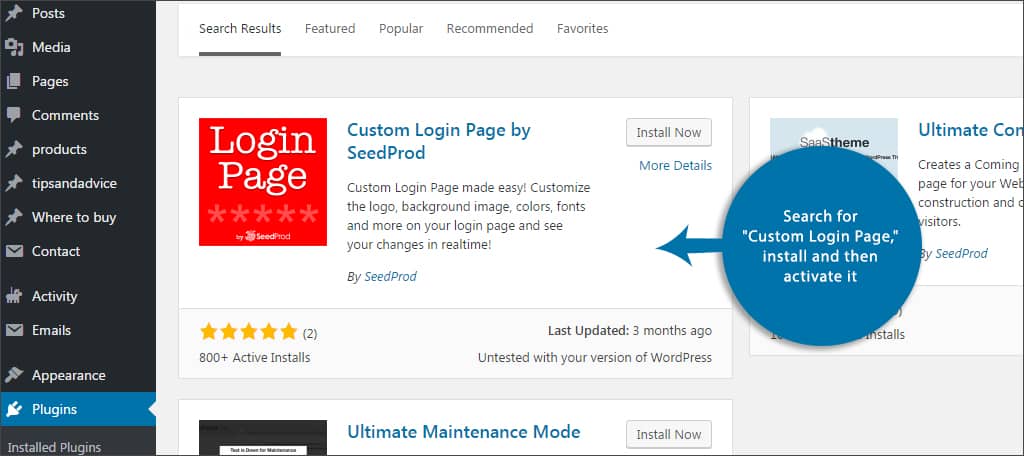
Step 1: Access the plugins area from WordPress and click the “Add New” button.
Step 2: Search for “Custom Login Page,” install and then activate it.
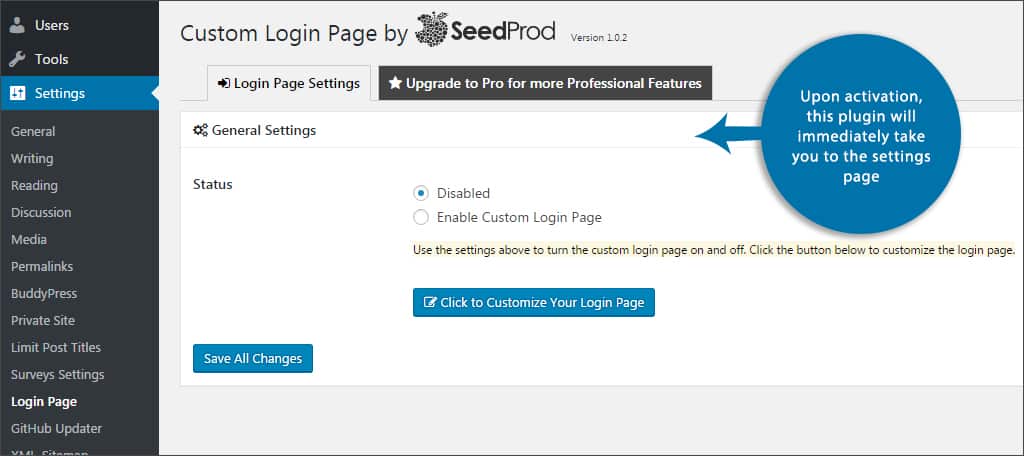
Step 3: Upon activation, this plugin will immediately take you to the settings page. This can also be found by going to “Settings” of your WordPress installation and finding the control labeled, “Login Page.”
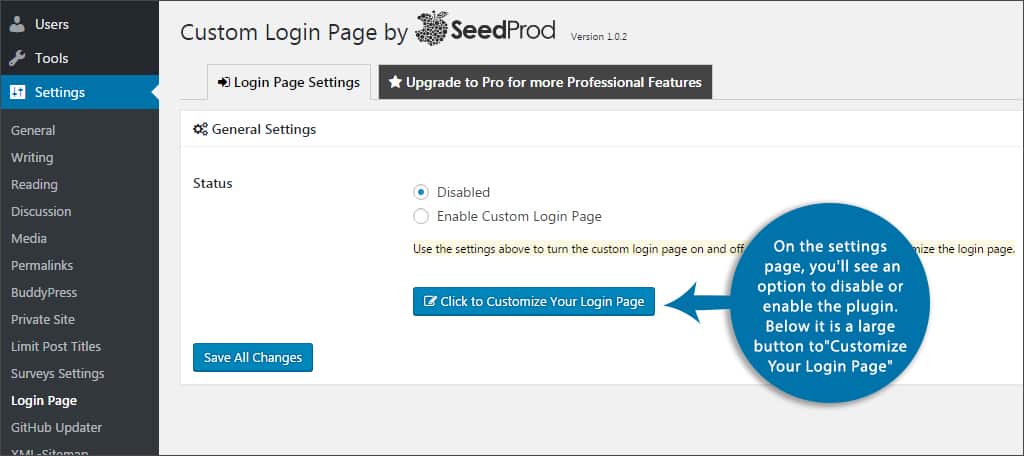
Step 4: On the settings page, you’ll see an option to disable or enable the plugin. Below it is a large button to “Customize Your Login Page.” Click this button.
Step 5: You will be taken to a WYSIWYG editor where you can customize the screen.
Step 6: Add your logo. Click the “Choose Image” button and find the graphic you want to use. This will replace the default WordPress “W” image.
![]()
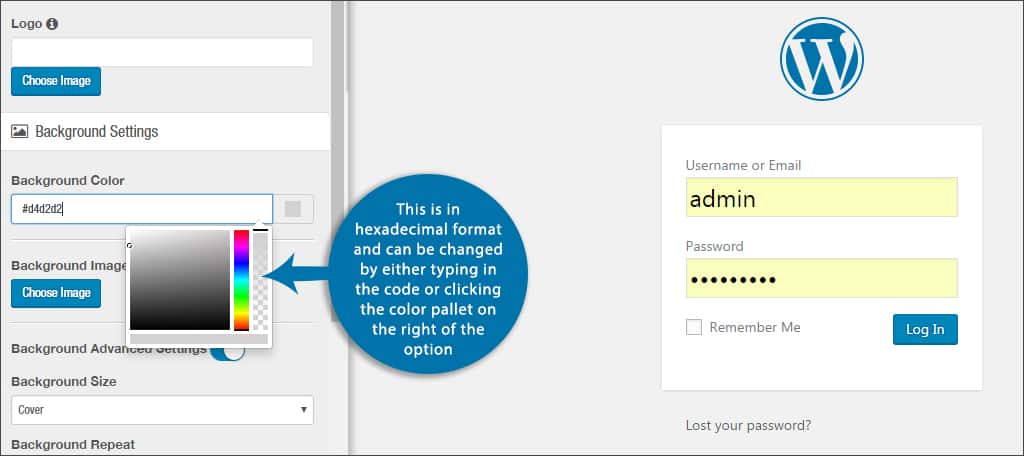
Step 7: Select the background color. This is in hexadecimal format and can be changed by either typing in the code or clicking the color pallet on the right of the option.
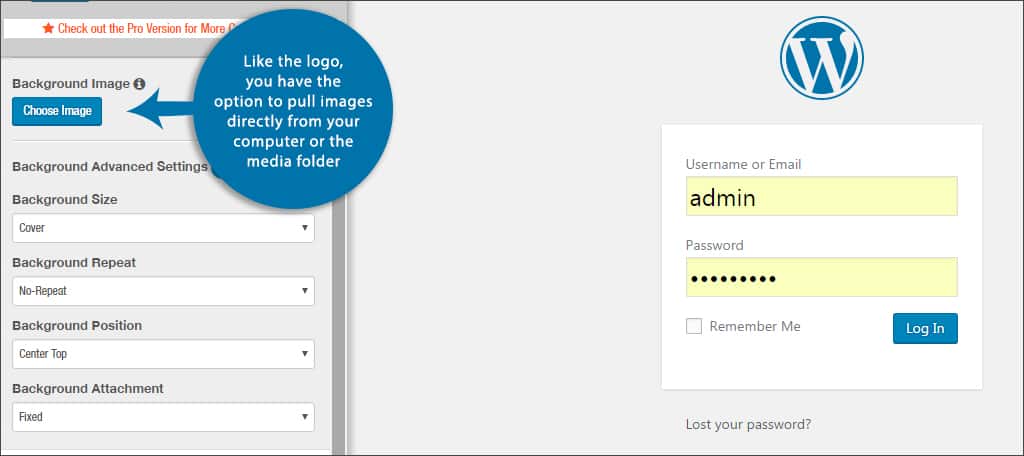
Step 8: Choose a background image. Like the logo, you have the option to pull images directly from your computer or the media folder of WordPress for a specific background.
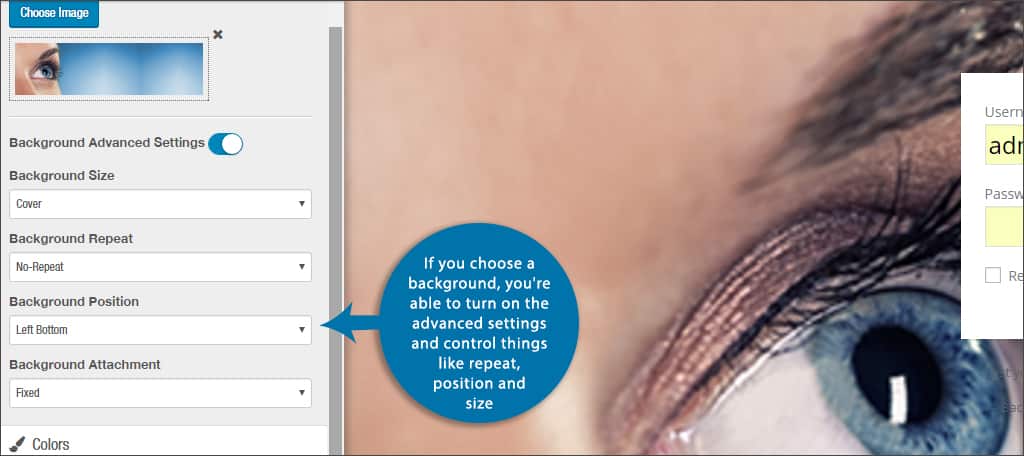
Step 9: If you choose a background, you’re able to turn on the advanced settings and control things like repeat, position and size.
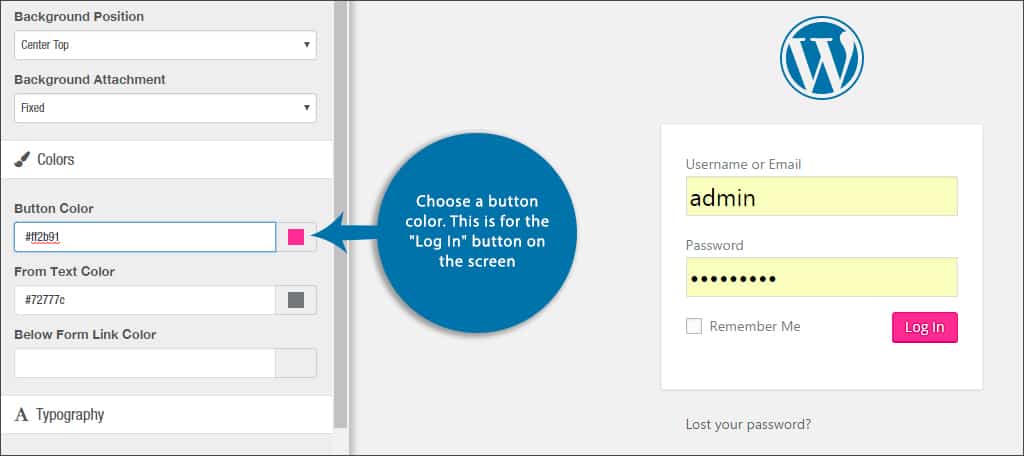
Step 10: Choose a button color. This is for the “Log In” button on the screen. It also uses hexadecimal input or you can click the color pallet on the right to change it.
Step 11: Select a form text color. This alters the actual text in the username and password form.
Step 12: Select a link color for the text below the form. This controls the links for lost password and back to website functionality.
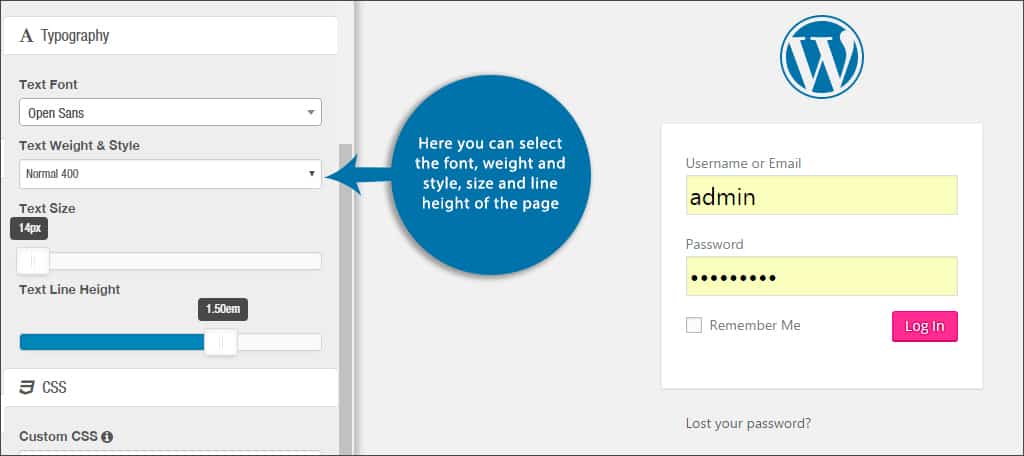
Step 13: Choose your typography. Here you can select the font, weight and style, size and line height of the page.
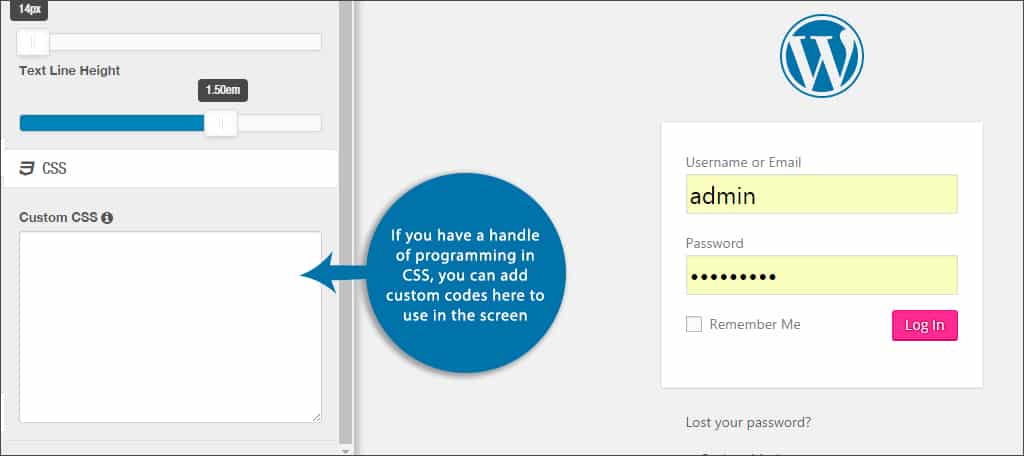
Step 14: Input custom CSS. This is purely optional. If you have a handle of programming in CSS, you can add custom codes here to use in the screen.
Step 15: Once you have completed your settings, you can see how the login screen looks on either desktop or mobile devices by clicking the corresponding buttons on the top left.
Step 16: Click the “Save” button.
Step 17: Once your screen fits your design ideas, click the “Back to Settings” link in the top left corner.
Step 18: Select the radio button to “Enable Custom Login Page.”

Step 19: Click the “Save All Changes” button at the bottom.
The Pro version has a long list of more customization options available. For instance, you could add social profiles, animations, special effects and a way to add text to the page itself. It’s options like these that make this plugin one of the more engaging and feature rich for those looking to spark interest from registered users.
Using Theme My Login to Change the Page #
One of the most effective plugins for the purpose of editing the user access screen is Theme My Login. It comes with a lot of useful tools and is easy to implement.
To use Theme My Login:
Step 1: Go to the area for your plugins in the WordPress admin panel.
Step 2: Click the “Add New” button at the top and enter “Theme My Login” in the search bar.
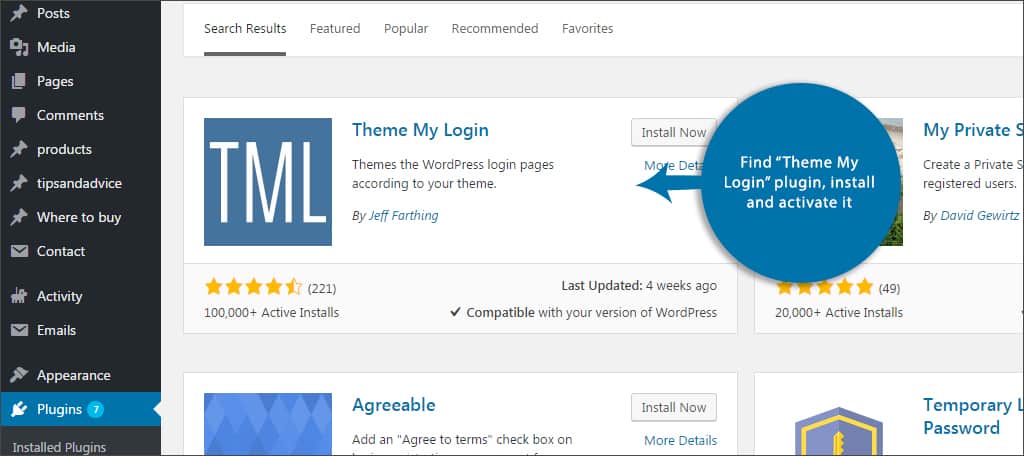
Step 3: Find the correct plugin, install and activate it.
Step 4: A new option will become available in the left sidebar of the admin panel near the bottom. It will be labeled, “TML.” Click this link.
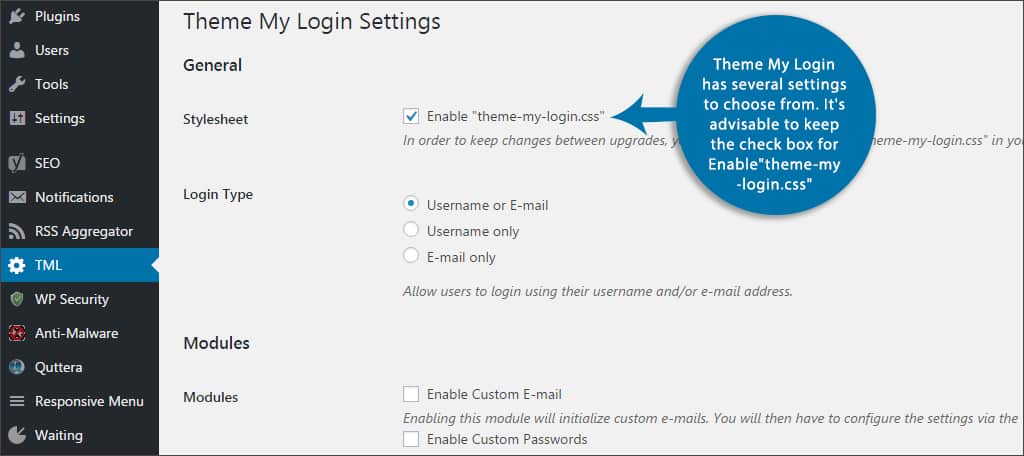
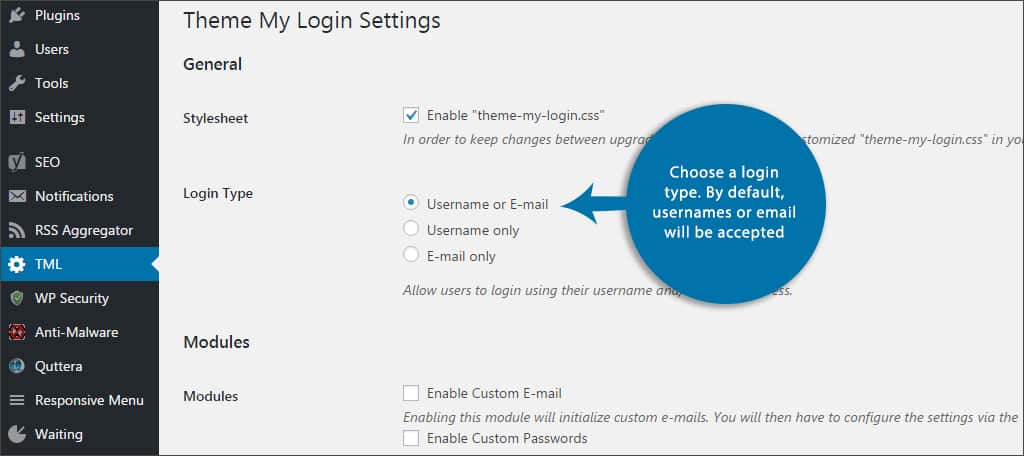
Step 5: Theme My Login has several settings to choose from. It’s advisable to keep the check box for “Enable “theme-my-login.css.”
Step 6: Choose a login type. By default, usernames or email will be accepted. However, you can change this to be either one only.
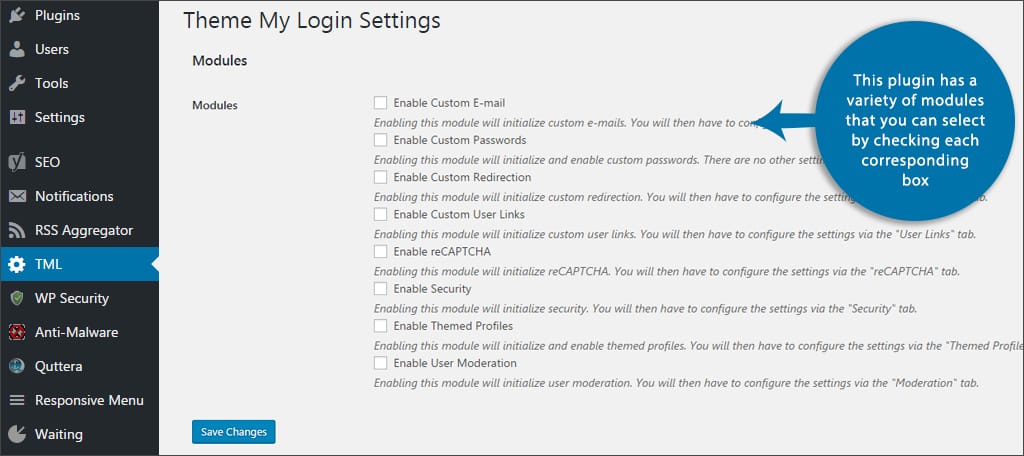
Step 7: Select the modules you want to use. This plugin has a variety of modules that you can select by checking each corresponding box. These options include custom redirects, email, reCAPTCHA options, security and even themed profiles. Select all that apply and click the “Save Changes” button on the bottom.
Step 8: With each of these modules you select, there will be settings listed under the “TML” tool on the left side of the admin panel. Go into each module and change the settings to customize the layout and functionality of your page.
Step 9: Once you have saved each of these settings, go to the “Appearance” tool on the left of your admin panel.
Step 10: Click on the control for, “Widgets.”
Step 11: Theme My Login will install a new widget that lets you drag the login screen to any sidebar in your theme. This lets users access their profile and information from the front end of your website. This is useful if you’re building a community and have many registered users.
Step 12: If you use the widget, it will provide you with several options. You can set the default to display login, register and lost passwords. You’ll also have the ability to show titles, login links and the user’s gravatar if he or she has one. Check all that apply, and click “Save.”

reCAPTCHA is a nice addition as it helps reduce the influx of spam to your website. Although it may not prevent every spam bot from accessing WordPress, it is a useful option to eliminate some of them.
Once the settings are complete, you’ll see that the screen now uses your website’s basic theme as its background rather than the default WordPress page.
These are only a couple of ways that can help you modify the WordPress login page. There are many plugins to choose from, but these are probably the two easiest to use. Make your site more appealing by adding a few customization options to engage your visitors. You may find them more likely to register and return at a later date.
What kind of things do you offer on your site to engage your target audience? What kind of customization have you added to your WordPress website?


