Table of Contents
Learn how to close your books and prevent changes to past transactions.
When you’re ready to close out the year, close your books to prevent unwanted changes before filing your taxes. This locks your books so no one can edit your accounting data before the closing date.
This is an important step when you review the previous years year’s financial data. Closing your books ensures everything stays the way you want it to. It also prevents any accidental changes that could affect your financial reports.
Step 1: Review your accounts #
- Sign in to QuickBooks Online as a master or company admin.
- Review your accounts and make sure everything looks good.
- Enter any outstanding invoices, expenses, and payments.
- Reconcile your accounts up to your closing date.
- Review your inventory quantities.
Step 2: Close your books #
- Go to Settings ⚙ and then select Accounts and Settings.
- Select the Advanced tab.
- Select Edit ✎ in the Accounting section.
- Select the Close the books checkbox.
- Enter a closing date. Give yourself a comfortable deadline. You shouldn’t need to edit any transactions before this date. Your new bookkeeping work will start after this point.
- Select the Allow changes after viewing a warning and entering a password option from the drop-down menu if you want to require a password before editing your closed books.
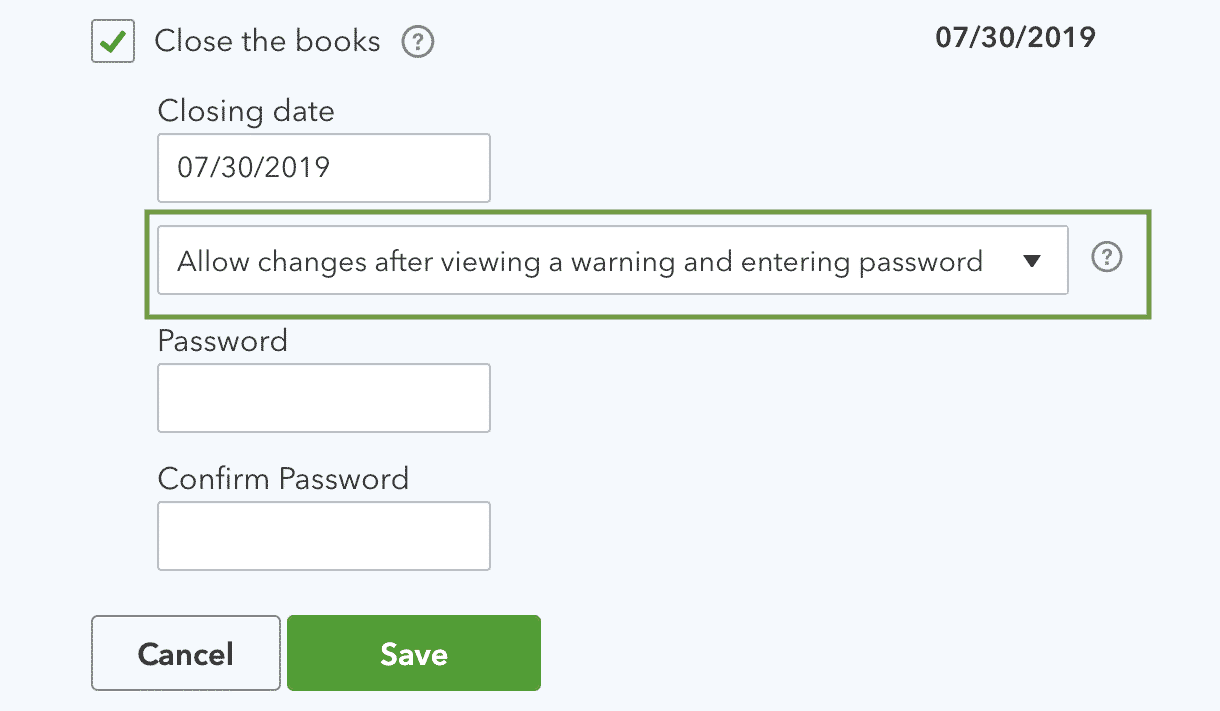
- Select Save and then Done.
Next steps: Review your closed books #
Get ready for year-end and check out our Year-end guide and checklist in QuickBooks Online.


