A lot of website owners will use WordPress to collect documents or allow users to otherwise upload files. This can be useful in the business dynamic or if you have a team of WordPress users. However, the WordPress upload limit can get in the way.
The upload limit is in place to help you, but can sometimes be a bigger hindrance than a help. But like most things in WordPress, you can customize it to fit your website’s needs.
In this article, we’re going to show you a few different ways to set your WordPress upload limit. This can help you keep the folders clean and the drive space clear of debris.
Why Limiting the Upload Limit is Important #
While we are going to demonstrate how to increase the upload limit, it is worth pointing out that there are far more advantages to keeping it low.
Limiting the size of uploads from users can have a variety of uses for just about any kind of website. Whether you’re using WordPress as the backbone of your business or hosting a social community site, keeping the files low can have great benefits.
Here are the top 5 benefits of limiting your upload limit:
1. Limit Huge Image Files #
One of the most common things sent to a WordPress website is imagery. Pictures can quickly flood a media folder whether you’re using them for featured posts or creating icons to be used on the site. Unfortunately, many people don’t take the time to optimize these graphics.
An image directly from a camera can be in excess of 20MB of file size. This is an incredibly large file and would take much longer to render on a website. By keeping the quota low, you can ensure users are optimizing their graphics to be used online.
2. Keeping Risks from Executable Software Low #
Large files can house a myriad of dangerous elements. For instance, that seemingly safe text document that a user is uploading may be riddled with a virus application waiting for someone to access it. Although many pieces of malware are relatively small, keeping file transfers low can still reduce the risk to your site and your users.
3. Improving Website Bandwidth #
Reducing the quota can impact the amount of bandwidth on your website as well. If too many people are sending large files to the site at once, these uploads can reduce performance. This means everyone accessing your webpages will be affected by large file transfers.
4. Improper Sharing of Large Files #
Keeping a WordPress upload limit will keep users from sharing things that are too large to be on the network. For instance, music and videos can take up a great deal of space. This may also help avoid any legal issues in terms of sharing copyright materials.
5. Reducing Drive Space Costs #
Some hosting accounts rely on a specific size of online drive space for the website. Keeping files to a minimum helps ensure that the site isn’t sacrificing its own functionality for the sake of file sharing. It may also reduce extra costs from the hosting company.
How to Increase the WordPress Upload Limit #
Method 1: Using Upload Quota per User #
Step 1: Install Upload Quota per User #
As you might expect, there is a plugin that can control the upload limit for you. Upload Quota per User allows you to set the upload limit to anything by simply entering the numbers into an appropriate text box. It doesn’t get any easier than this.
This can be done for each user to provide more flexibility. The plugin has not been updated in some time, but I can assure you that it still works. I tested it with WordPress version 5.6.2 and had no issue.
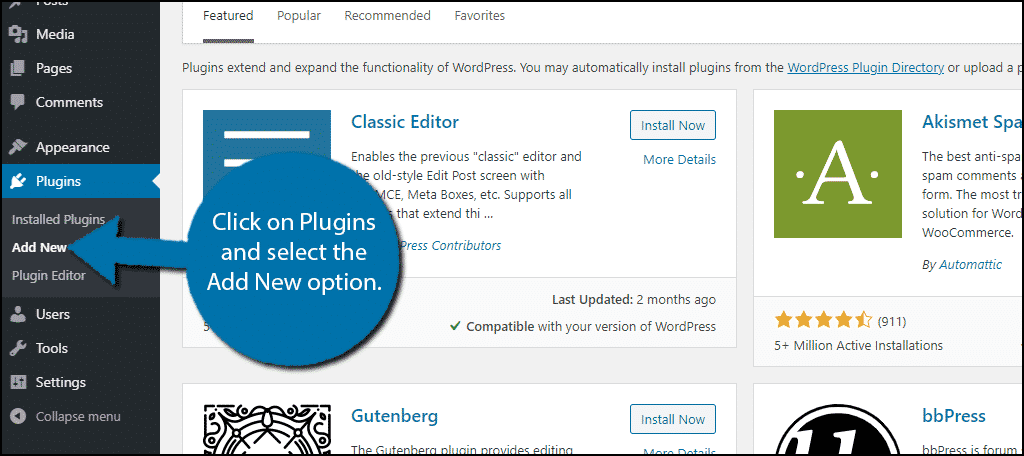
Let’s start by clicking on Plugins and selecting the Add New option on the left-hand admin panel.
Search for Upload Quota per User in the available search box. This will pull up additional plugins that you may find helpful.
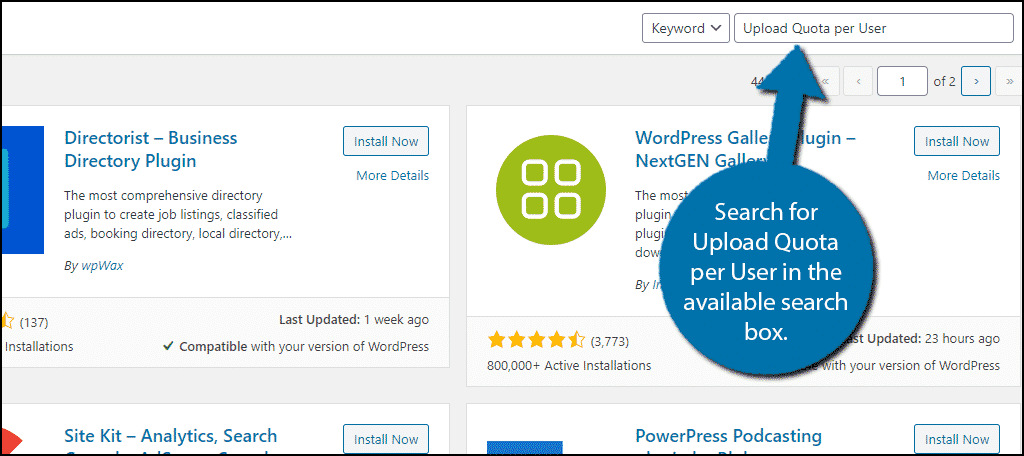
Scroll down until you find the Upload Quota per User plugin and click on the “Install Now” button and activate the plugin for use.

Step 2: Set the Upload Limit #
Click on Media and select the Upload Quota option.
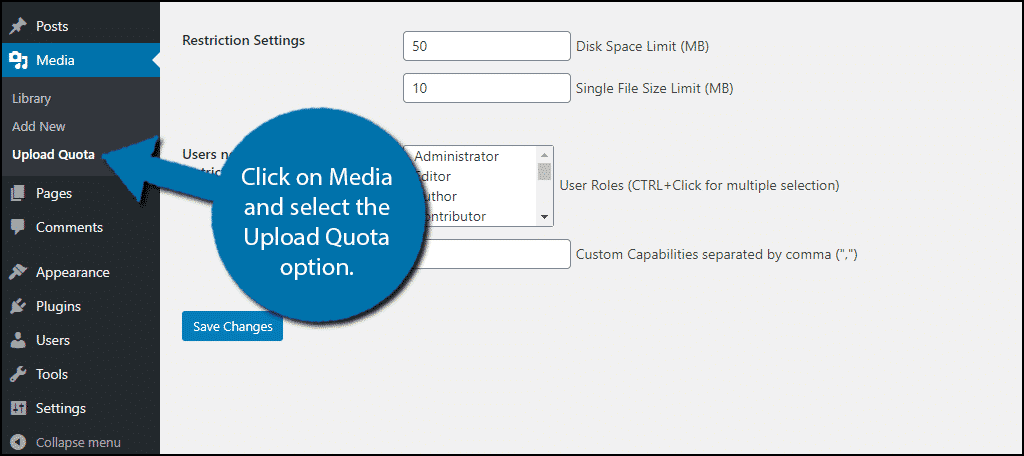
Note: You will there is a new statistic in the Media area displaying the percentage of disk space that is currently being used according to the quota.
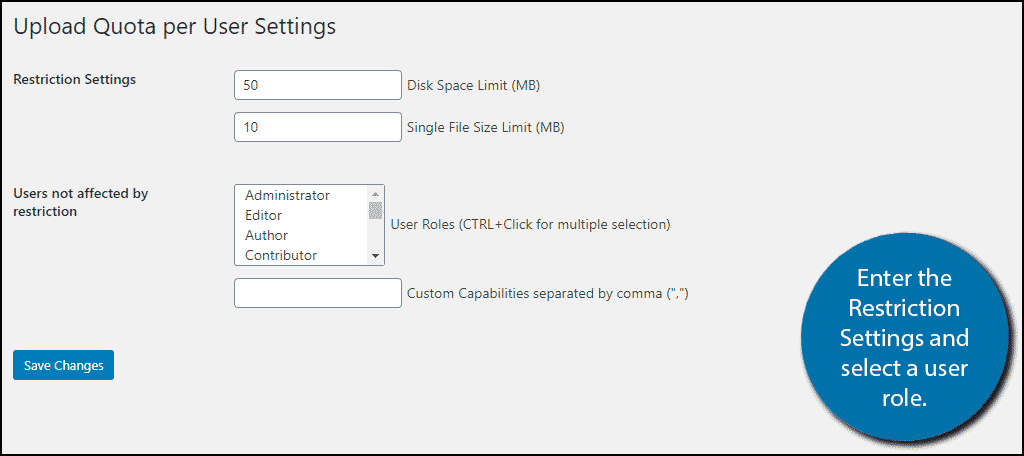
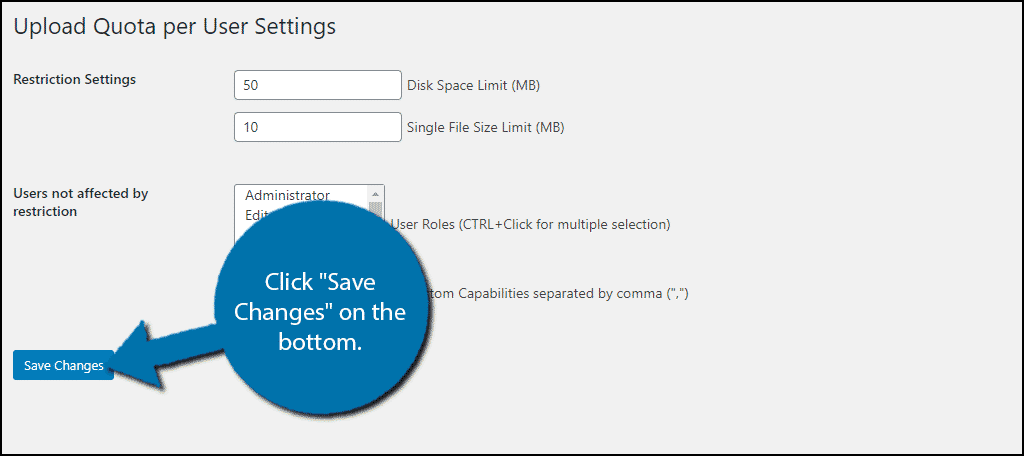
Here you will see the Restriction settings and a list of user roles. Select the user role that you want to increase the WordPress upload limit and insert the values into the appropriate text box. I recommend keeping the upload limit as small as possible.
Note: You can select multiple user roles at once by pressing the CTRL button and clicking multiple user roles. For Mac users, use the Command button.
In general, the images you upload should be quite small and for most websites, an upload limit of 2MB is more than sufficient. However, some websites may upload large PDFs, like ebooks, or upload video content that can easily exceed those limits.
In these cases, I recommend increasing the upload limit to the necessary amount. However, once the upload is complete, you can set it back to a smaller value.
Click “Save Changes” on the bottom.
With these changes, your WordPress website will expand the upload limit for the specific user role. You can make these changes to them at any time. Keep in mind that depending on your web host, there may be restrictions on the upload limits in place that you can’t change.
In those cases, you will either need to contact your web host to see if there is a way to increase the upload limit or you may need to find a new web host.
Note: This method may also be unavailable if you’re using a WordPress.com website.
Method 2: Using Code in the Theme Functions File #
Step 1: Access the Functions File #
Although a plugin is much easier to incorporate, some people do not want to add unnecessary plugins to their website. Increasing the WordPress upload limit can be done by code and it is relatively simple.
However, before you begin, I strongly recommend creating a backup. While the code is simple to add, it is possible to make a mistake and negatively impact your website. A backup can reverse any mistakes you make.
Enter the File Manager in your cPanel. Alternatively, you can use an FTP client.
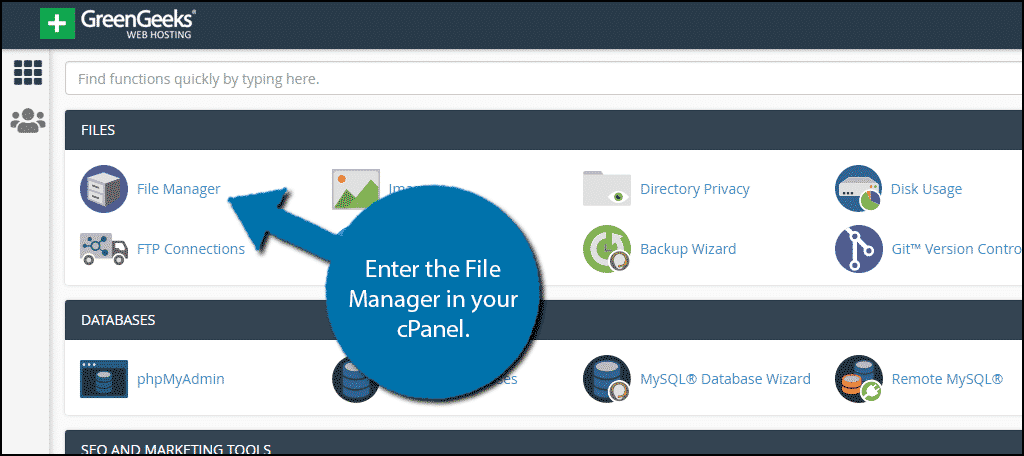
You need to locate your theme’s functions file. Click on the public_html directory, then click on the wp-content folder. Inside this folder, you will find all of the content related to your website. Click on the themes folder and enter the folder of the theme you are currently using.
Finally, right-click on the functions file and select the Edit option.

Step 2: Enter the Code #
Once inside of the file, it’s time to enter the code. The code only consists of the following three lines:
This code sets the max size to 32MB. You can change this to be larger or smaller depending on your needs. Once the code has been added, click on the “Save Changes” button.
The WordPress upload limit will now be changed accordingly.
Note: The functions file is inside of your theme’s folder. Thus, that means if you change your theme, the upload limit will go back to the default values. You will need to renter this code into your new theme’s functions file if you change themes.
Control Your Upload Limit #
When it comes to modifying your WordPress upload limit, you have your own limitations to consider.
For instance, not all shared hosting servers will allow such changes. After all, these accounts do not offer a lot of disc space. If you’re having problems with your modifications, contact your hosting company to change the limits on your account.
Keep in mind that if you begin to regularly upload large files like videos, you may need to purchase more storage space.
What kind of restrictions do you place on your guests? What kind of files are uploaded to your website?


