All devices need various setups and maintenance for working proficiently and to give optimum output. If there is any malfunctioning in the device due to which it displays the error at the time of working, it is an indication that your device needs a reboot or a reset.
First, you try with the rebooting and if it restores to normal then you can continue with your work but if the issue is still not fixed after rebooting then you must take an initiative to reset it. There are various types of resetting options in devices and it also requires you to take different steps accordingly.
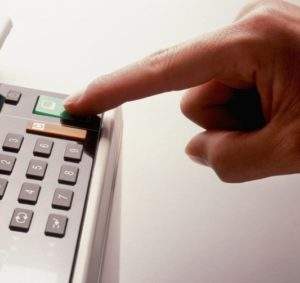
The same is the case with Dell Printers. If you have a Dell E310dw Printer and you want to know the various ways to reset it then read through this article where we will discuss How To Factory Reset Dell E310dw Printer, How to network reset your Dell E310dw Printers and How to setting reset your Dell E310dw Printers.
First, we will note down the steps on How To Factory Reset Dell E310dw Printer: #
Step 1 –Hit the up or down button to spot the Reset Menu option, and after that press OK.
Step 2 – Hit the up or down button to spot the Factory Reset option, and after that press OK.
Step 3 – Hit up to select Reset.
Note that the original factory settings are restored after you perform the Factory Reset function on Dell E310dw Printer.
Secondly, the steps to network reset your Dell E310dw Printers: #
Step 1 –Hit the up or down button to spot the Reset Menu option, and after that press OK.
Step 2 –Hit the up or down button to spot the Network option, and after that press OK.
Step 3 – Hit up to select Yes.
Note that the interface cables must be unplugged before performing a network reset.
Thirdly, the steps on How to setting reset your Dell E310dw Printers: #
Step 1 –To reset the network settings such as the IP address, the first step is to disconnect the network cable from the machine.
Step 2 –Hit the up or down button to spot the Reset Menu option, and after that press OK.
Step 3 –Hit the up and Back buttons at the same time.
Step 4 –After you spot the Settings Reset, press OK.
Step 5 –After Restart Printer is displayed you can press OK.
So, therefore these were the few easy and time-saving steps which can be instantly applied and learnt to reset your Dell E310dw Printer so that it starts functioning properly as a brand new printer. We hope that this article on How To Factory Reset Dell E310dw Printer will be helpful in guiding you through the process of reset and we also hope that you find this article beneficial for your use.


