The XMLRPC is a system that allows remote updates to WordPress from other applications. For instance, the Windows Live Writer system is capable of posting blogs directly to WordPress because of xmlrpc.php. In its earlier days, however, it was disabled by default because of coding problems.
In essence, xmlrpc.php could open the site to various attacks and other issues. Luckily, the developers of this code have long since tightened up its structure and it is still a widely used application.
In this tutorial, we’re going to show you how to enable and disable the xmlrpc.php and why it’s important to know the difference.
What is XMLRPC.PHP and Why You Need It? #
The xmlrpc.php allows remote connection to WordPress. Without it, various tools and publishing applications simply will not be able to access the website. Any updates or additions to the website would have to be made while logging directly into the system.
The Good
By disabling this feature, you eliminate the risk of external attacks gaining access. Although the contributors to this platform attest the programming of xmlrpc.php is as secure as the rest of the core files of a hosted WordPress website, some may feel safer by disabling this ability.
It’s like having a house with only one door. Adding a second door may be more convenient, but it creates another entry point that needs to be locked.
The Bad
The obvious downside to eliminating this feature is that remote access to WordPress will no longer be possible. This removes some of the functionality and versatility of the system. Instead of posting blogs from a different application automatically through remote access, any content and other changes would have to be made through logging directly into WordPress.
This can be problematic for those who like the idea of posting content directly from their mobile devices.
How Do I know When XMLRPC in Enabled? #
This is something that seems to cause confusion sometimes. Remember, by default XMLRPC is already enabled. It’s active once you finish installing WordPress
So if you use any of the following resources to disable it, simply redo your settings or erase the code to re-enable it.
The Reality of XMLRPC #
For the most part, xmlrpc.php is only truly useful if you’re planning to use mobile apps or remote connections to publish content on your website. As mobile use has been such a prevalent way to access the Internet, many people will use remote apps to make developing their WordPress sites much easier.
This is also one of the reasons why developers put so much effort into fixing the problems with this feature’s coding in the past.
However, not everyone will need this ability enabled. Many aspects of the system work very well and are easy to use on smartphones or tablets. This is especially true since the core of WordPress works exceptionally well in a mobile environment.
Disabling XMLRPC Through Plugins #
While many things can be done at the coding level in WordPress, sometimes it’s just easier to use the right plugin. Today, we’re going to use Manage XML-RPC. This plugin is simple and does the job to enable and disable the XMLRPC whenever you wish.
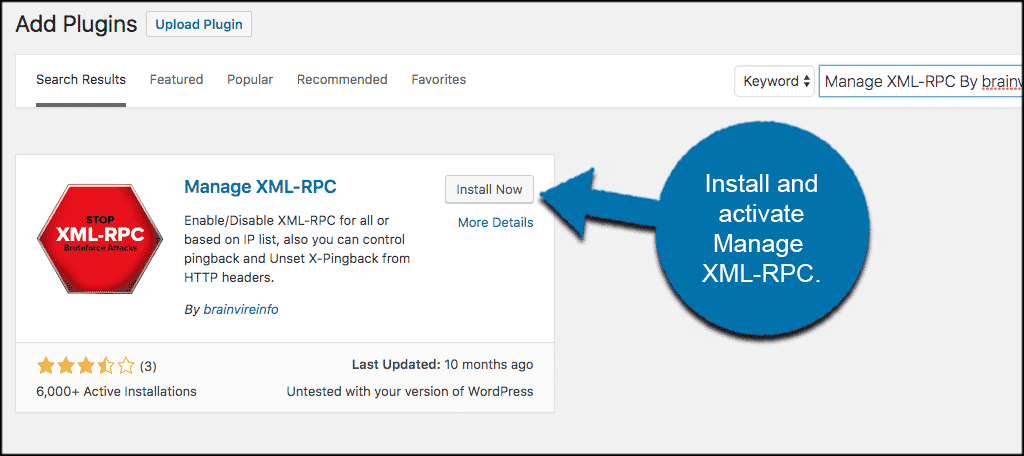
In order to use this great little plugin you need to install and activate it from the plugins page in your WordPress admin dashboard.
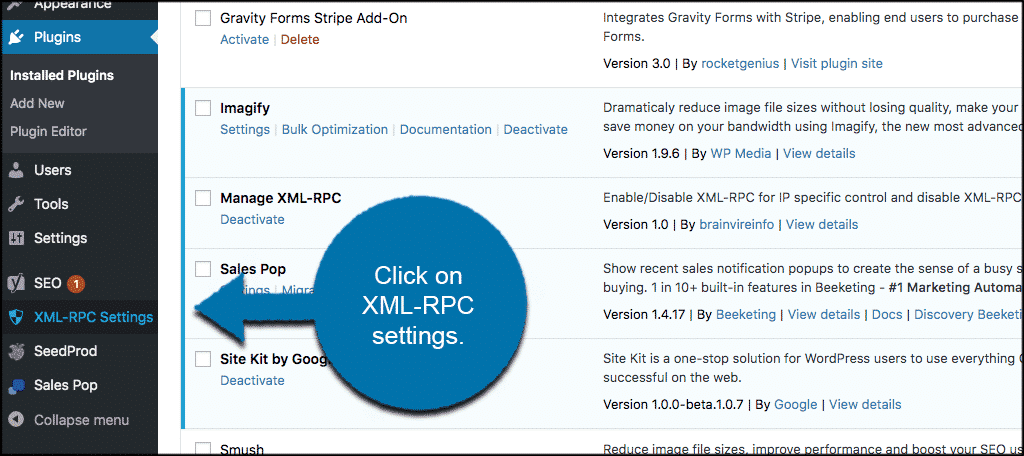
After installing and activating the plugin, a new feature will appear in the left side of your WordPress admin panel called, “XML-RPC Settings.” Click this link to open the plugin.
Check the box to “Disable XML-RPC” if you want to remove the remote access abilities of WordPress. At any time, you can uncheck the box to re-enable it.
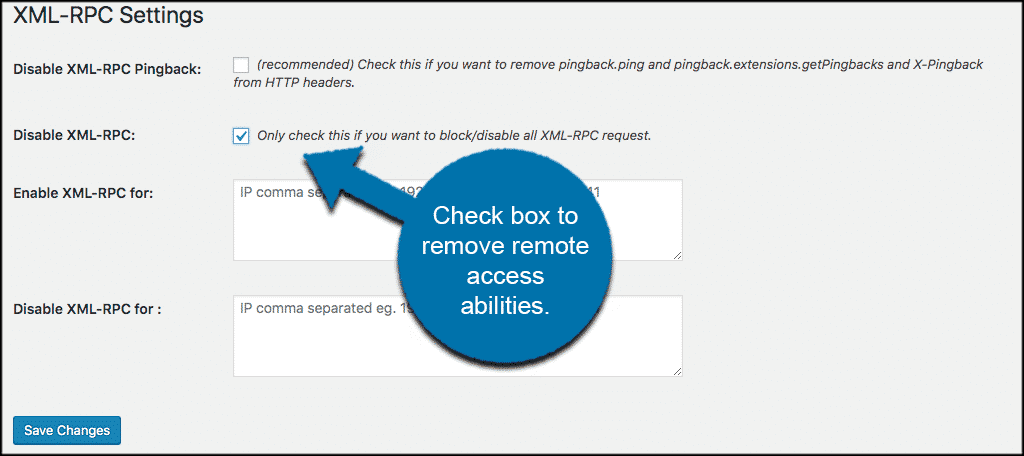
Once your selections have been made, click the “Save Changes” button on the bottom left of the screen.
NOTE: Manage XML-RPC also comes with the ability to disable pingbacks. You can also set certain IP addresses to enable and disable the feature. This can be convenient if you want the service to work for specific applications or users based on their IP address.
This plugin gives you the ability to enable or disable xmlrpc.php for the entire site or just a handful of IP addresses. It’s a nice feature to have, especially if you want to block specific users from accessing XMLRPC through WordPress.
Here are a few other plugins you may be interested in that will also Enable and Disable xmlrpc.php.
Disable XML-RPC #
The Disable XML-RPC plugin is a simple way of blocking access to WordPress remotely. It’s one of the most highly rated plugins with more than 60,000 installations. This plugin has helped many people avoid Denial of Service attacks through XMLRPC.
Disable XML-RPC Pingback #
The Disable XML-RPC Pingback plugin
Both of these options are definitely plugins that could be worth adding to your website.
Using the .htaccess File to Disable XMLRPC #
A lot of people have found a wide degree of success by using the .htaccess file to disable xmlrpc.php. The code itself is relatively simple and can be of great use if you don’t want to worry about new plugins.
To use .htaccess to disable the xmlrpc.php function in WordPress you need to go to the root folder of your WordPress website using either FTP, or File Manager within your GreenGeeks account can also be useful if you have it available.
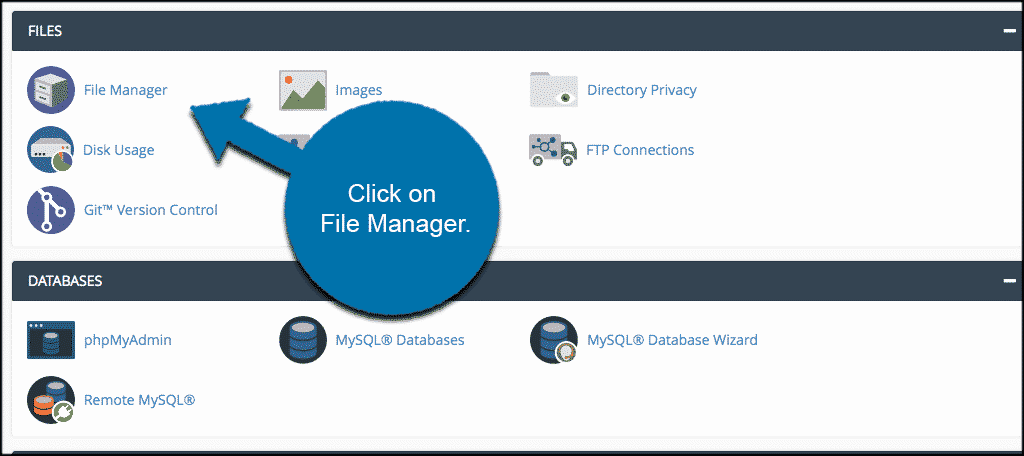
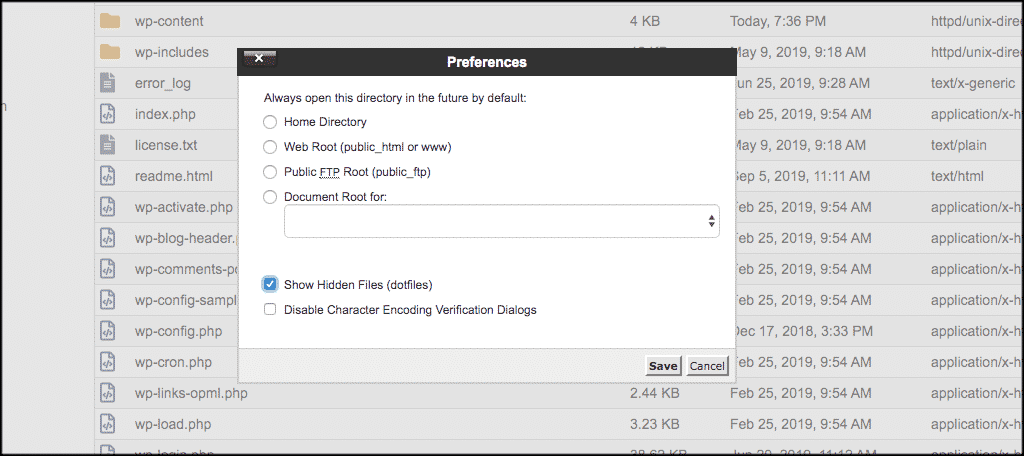
Find and edit the .htaccess file. In some versions of cPanel, this file will be hidden. You will need to set cPanel to view hidden files to access .htaccess. To do this click on “Settings” in the top right of the File Manager and check the button that says “show hidden files.” Click save and you will now see your .htaccess file.
Open the .htaccess file and add the following code:
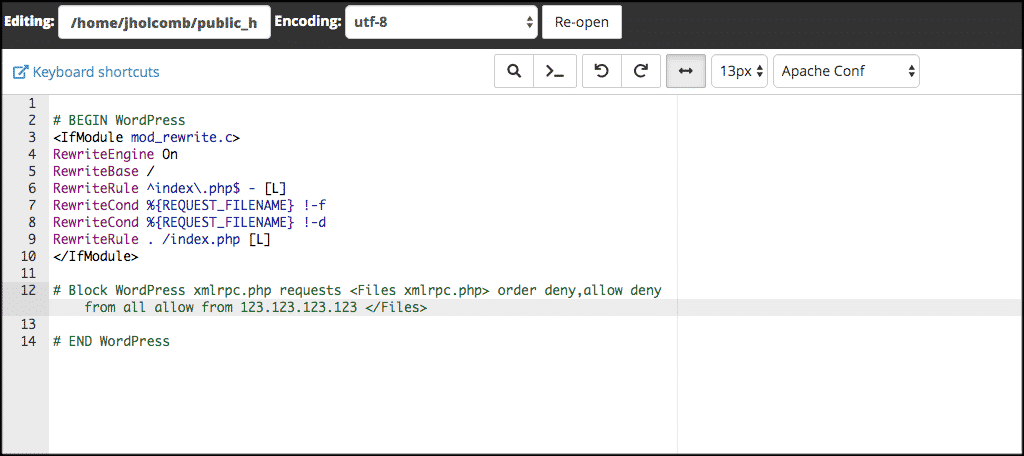
Now “Save” the file. It’s that simple. Now, anything remote using XMLRPC.PHP will be denied.
Using Code in a Site-Specific Plugin #
A site-specific plugin can be extremely useful if you want to add functionality to your site without incorporating third-party software. It’s a great way to add snippets you find on the Internet to use in your site without editing a theme template or the functions.php file.
In your site-specific plugin, you can simply add the following code to disable the remote access feature:
|
1
|
add_filter('xmlrpc_enabled', '__return_false'); |
Once saved, the site-specific plugin will run the above code and disable XMLRPC. However, you will need to remove the code in the event you want to turn the feature back on.
When Will I Need to Enable XMLRPC On My Site? #
If you use, or are planning to use, a remote system to post content to your site, you will need this feature enabled. Otherwise, you won’t be able to make remote connections through the system. If you disabled the feature and found that some of your plugins or other tools no longer work, you will need to re-enable it to continue using those additions.
Not everyone will need xmlrpc.php turned on within WordPress for it to function properly. In fact, a lot of you may never use this feature at all. If you’re worried about additional security issues, it’s in your best interest to disable this feature until you absolutely need it.
What kind of tools have you disabled in WordPress? What plugins do you have the take the place of coding on your website?


