Keeping your WordPress plugins and themes updated is one method to protect your site from hackers. It’s also a way to make sure the site stays functional and efficient. Setting these updates to occur automatically can be a time saver while making sure the files are current as they are published.
In this tutorial, I’m going to show you how to automatically update WordPress plugins. It’s a very simple process that will help streamline the site and keep all of your components working properly.
Why Update Your Plugins #
A lot of times, publishers will update plugins to fix bugs or programming issues. In some cases, these fixes may solve problems that many of you have with a certain tool.
This is exceptionally helpful if you find that a plugin that works perfect for your needs.
Making sure plugins play nice with others is another reason why developers publish updates. This is especially true when it comes to making sure the coding works perfectly with a new version of WordPress.
You may notice a lot of plugins and themes are updated within 48 hours of a new WordPress version.
If an exploit is discovered in a plugin, the developer will often issue an update after fixing the code. This is to prevent anyone from hacking a website through holes within the code itself.
The last thing a legitimate developer wants is a website exploit because of bad coding elements.
One of biggest reasons why I keep everything updated is because sometimes developers add new functionality. For example, I remember when Yoast SEO had fewer tools for optimization available than what is provided today.
Using Companion Auto Update #
There are a lot of tools available to automatically update WordPress plugins. In this tutorial, I am going to demonstrate Companion Auto Update. It’s a simple plugin that allows you to set various elements of WordPress. Currently, it’s also one of the more actively updated tools available in the system.
You will need to install the plugin before you can continue to enable automatic updates in WordPress.
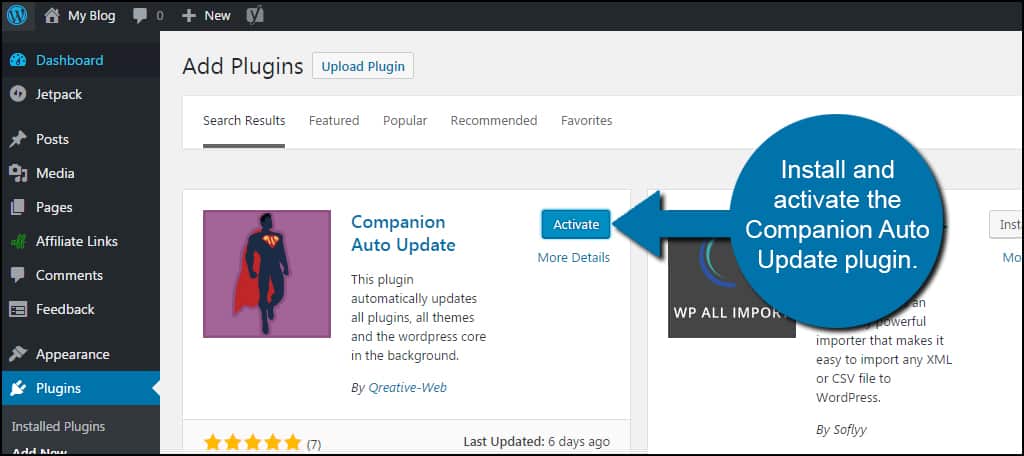
Install and activate the Companion Auto Update plugin.
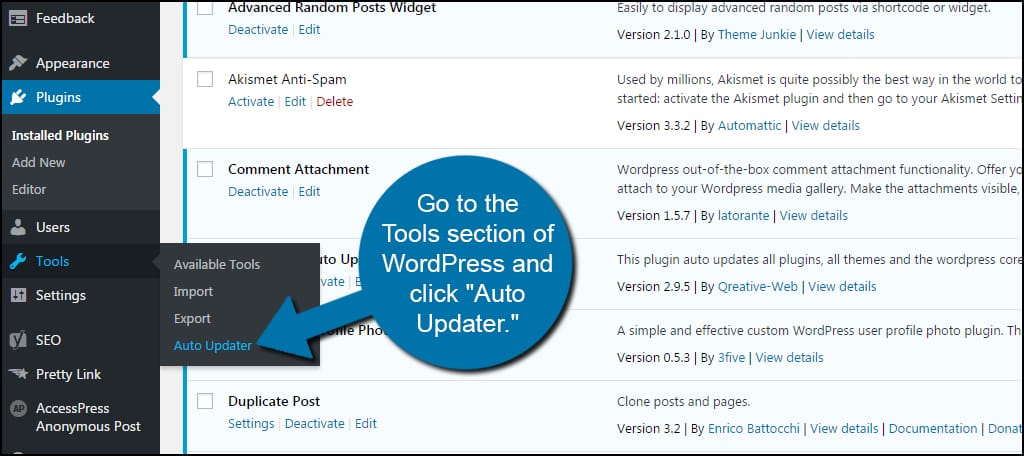
Go to the Tools section of WordPress and click “Auto Updater.”
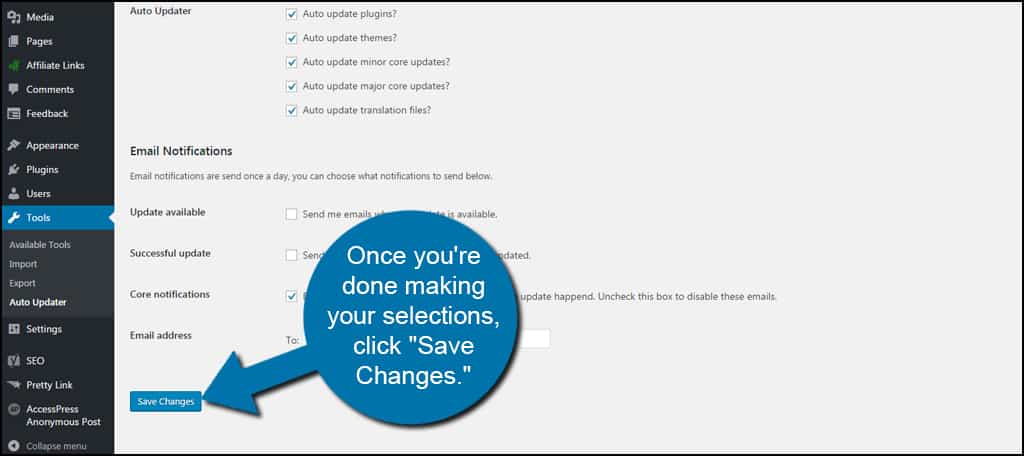
By default, Companion will have four main components of WordPress selected for auto updates. These are:
- Plugins
- Themes
- WordPress core files
- Translation materials
You can select or deselect any element you wish for automatic updates. However, I suggest leaving the selections as-is to provide the best experience for keeping your site functional.
You can also change email notifications upon updating the various elements. However, you want to be careful when setting these options. If you have a lot of plugins and themes, your inbox could be quickly flooded with update messages.
Once you’re done making your selections, click “Save Changes.”
Inserting Code to Update All Plugins #
What if you wanted to add a snippet of code to update all of your plugins without installing anything? You can actually do this with a single line of text.
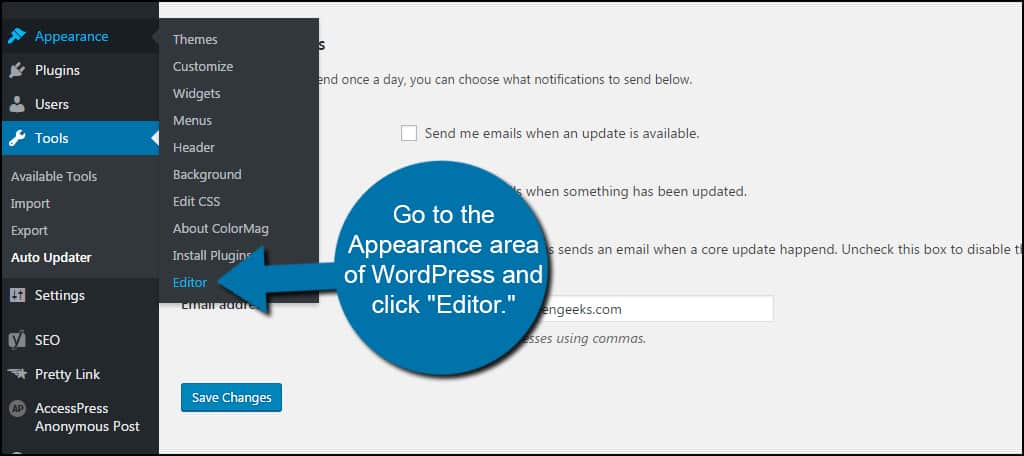
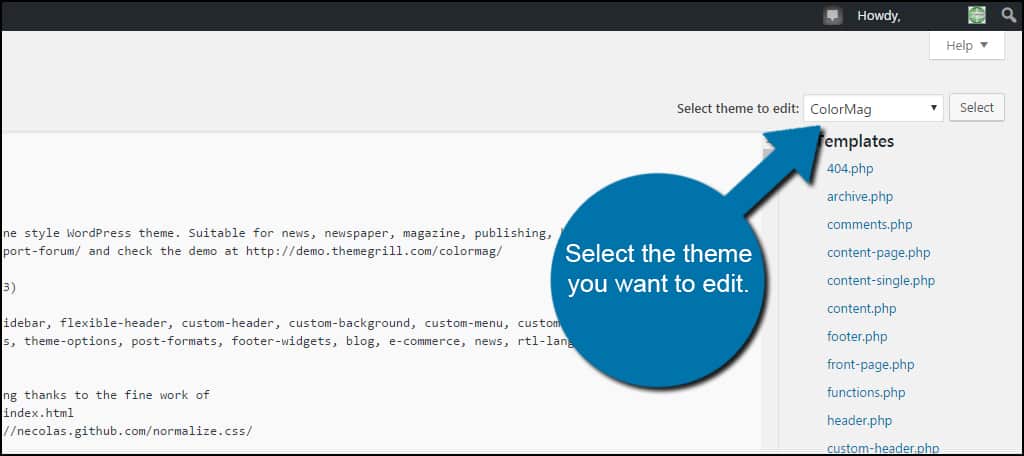
Go to the Appearance area of WordPress and click “Editor.”
Your primary theme should display by default. If not, select the theme you want to edit.
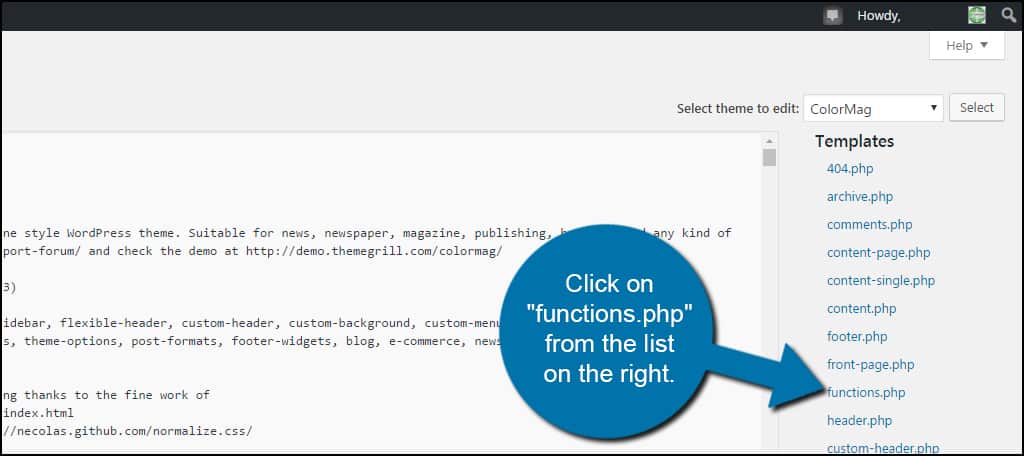
Click on “functions.php” from the list on the right.
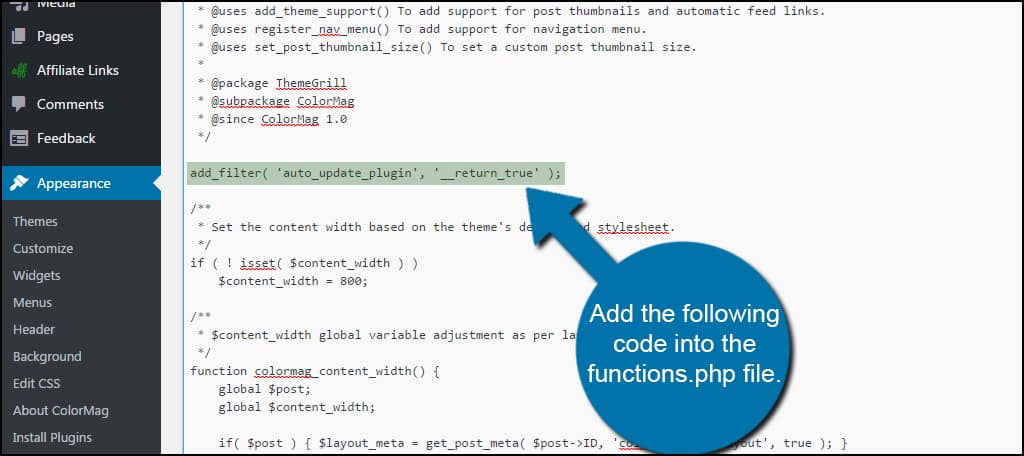
Add the following code into the functions.php file:
Click the “Update File” button on the bottom of the page.
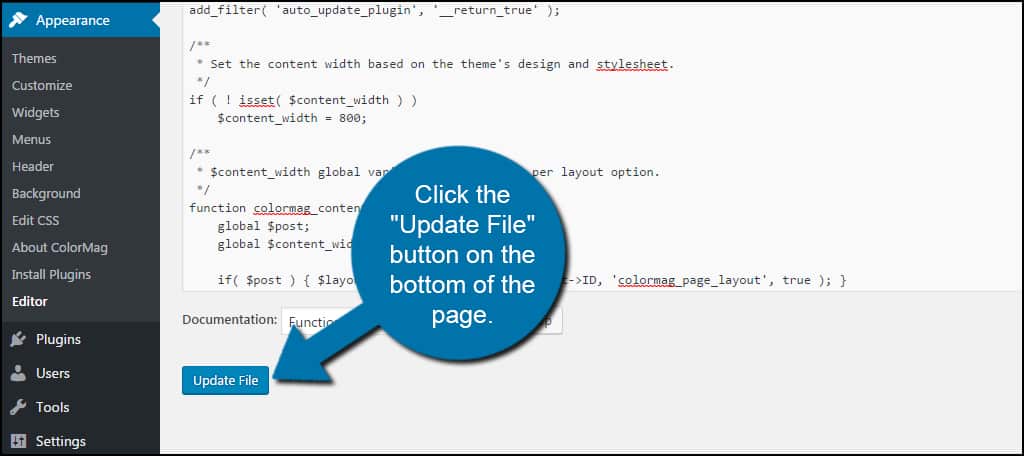
Keep in mind you will need to add this snippet of code again if you change the theme. This only works for the layout you’re currently using.
Using Softaculous to Automatically Update Plugins #
Softaculous is an easy-to-use installation system for many products. It takes a lot of the work out of installing CMS platforms like WordPress while making it easier on yourself to manage.
In this instance, it’s updating the plugins.
You can set up this feature when installing WordPress with Softaculous or afterwards using the edit feature.
During WordPress Installation: #
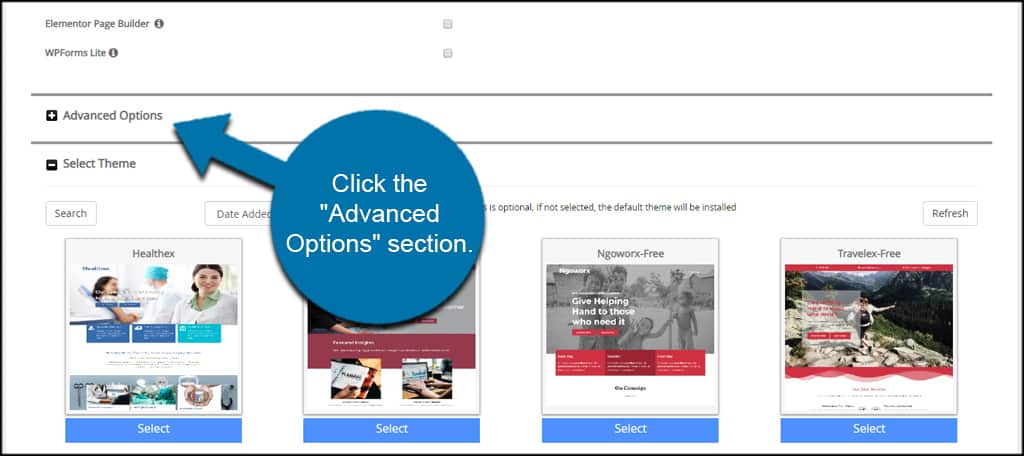
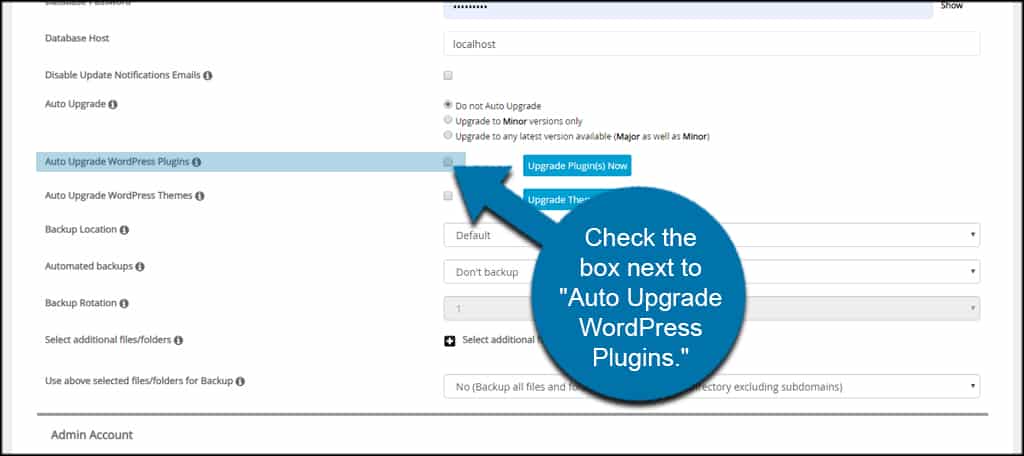
When using Softaculous to install WordPress, click the “Advanced Options” section on the screen.
Check the box to “Auto Upgrade WordPress Plugins.”
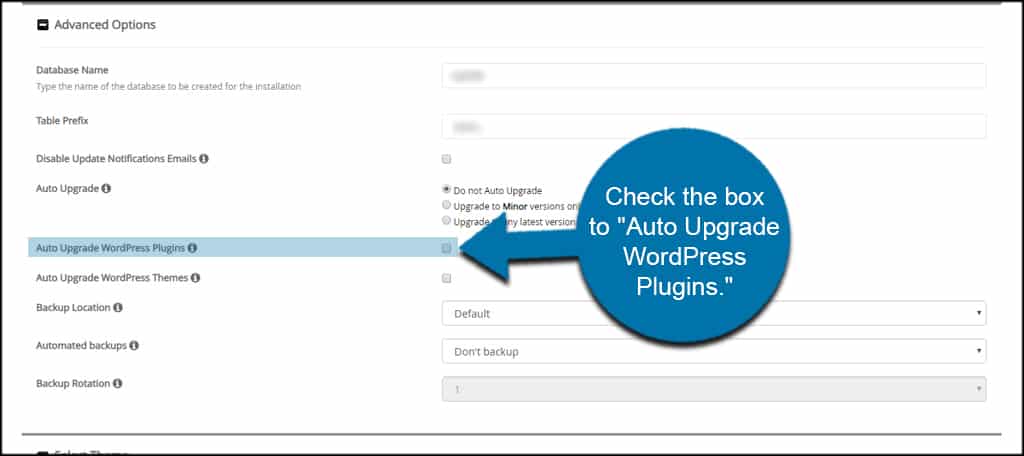
Then, continue installing as you normally would.
NOTE: You can also set Softaculous to automatically update themes you have installed on your website using the check box below the plugins.
Auto Updates After Install: #
What if you already have WordPress installed with Softaculous? You can set automatic plugin updates by editing the installation.
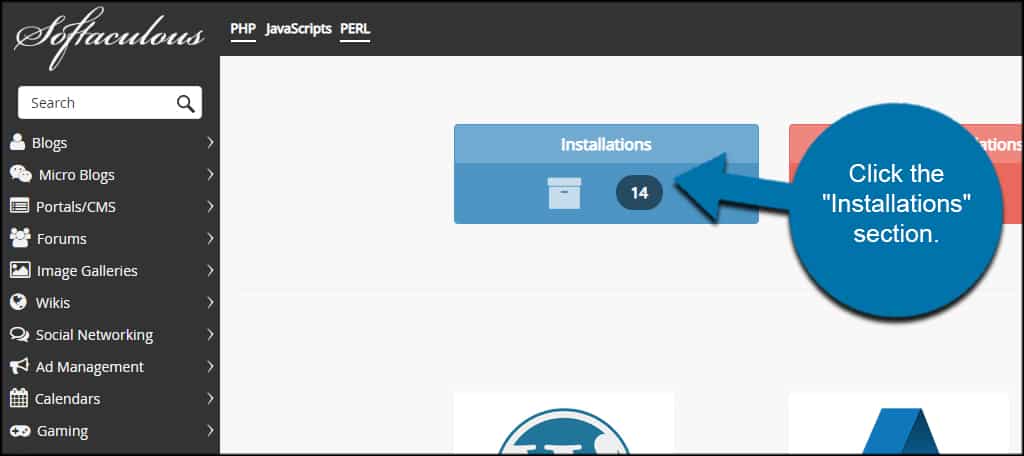
In Softaculous, click the “Installations” section of the page.
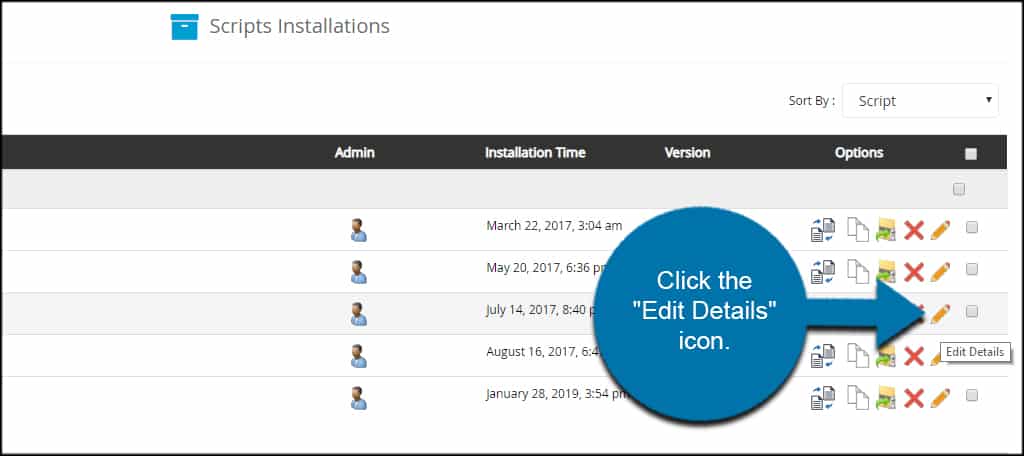
Find your installation of WordPress and click the “Edit Details” icon on the right of the screen. It’s the one that looks like a pencil.
Scroll down and check the box next to “Auto Upgrade WordPress Plugins.” You can also choose to update your tools by clicking the blue, “Upgrade Plugin(s) Now” button.
NOTE: Like before, you’re able to auto update themes as well.
Scroll to the bottom of the page and click the “Save Installation Details” button.
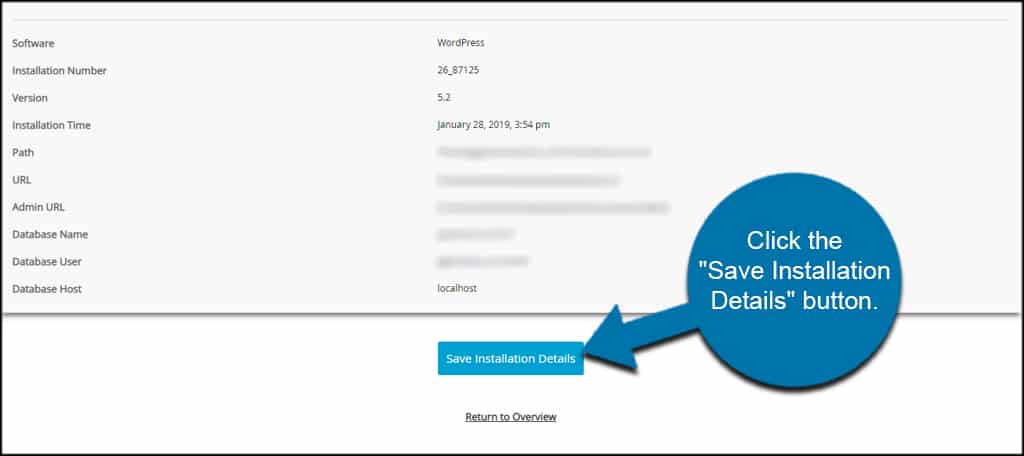
Softaculous will add the necessary coding to WordPress for automatic updates.
Using Jetpack to Auto Update Plugins #
Jetpack comes with a myriad of fine tools to help anyone create a stellar website. The only real drawback is the requirement for signing up for a free account at WordPress.com.
Once you have an account, however, you can turn on automatic updates from within that system. This means you’ll give a bit of control over to WordPress.com to manage the updates of your site.
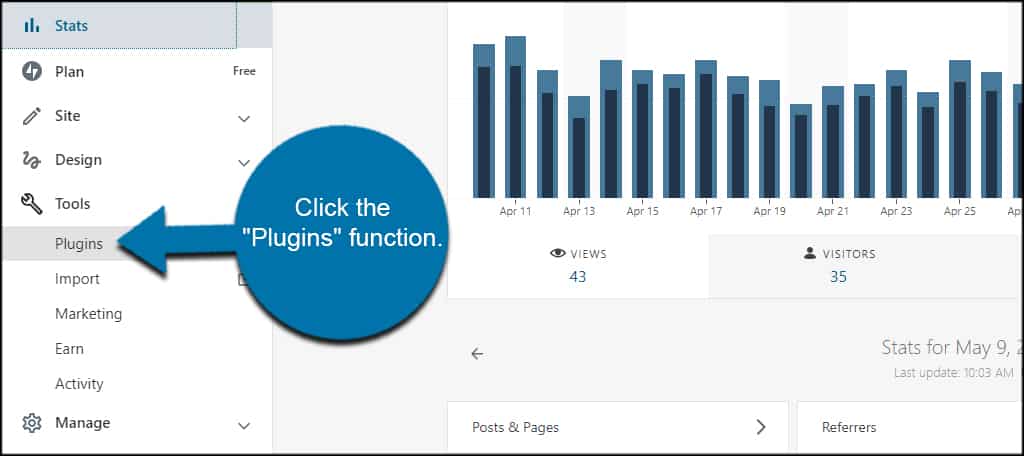
In the Tools portion of WordPress.com for your website, click the “Plugins” function.
Click the “Manage Plugins” option on the top right.
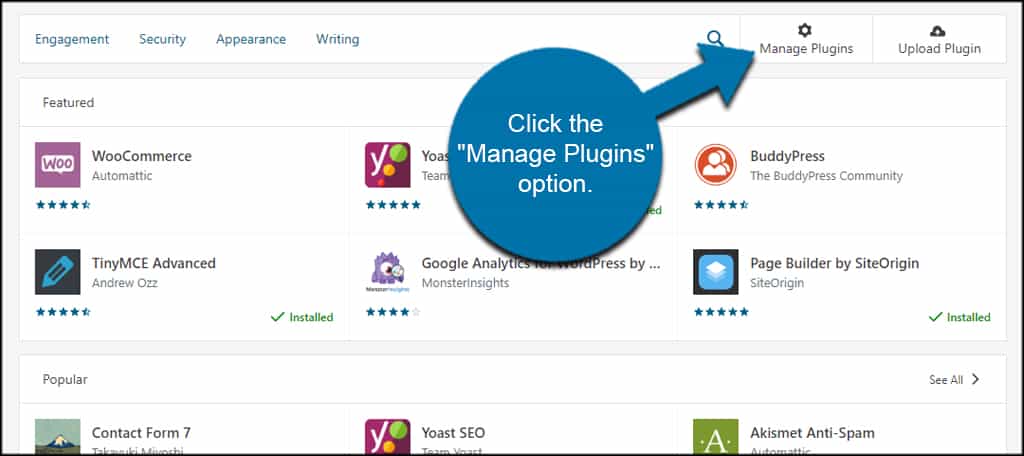
Simply use the “switch” to turn on automatic updates.
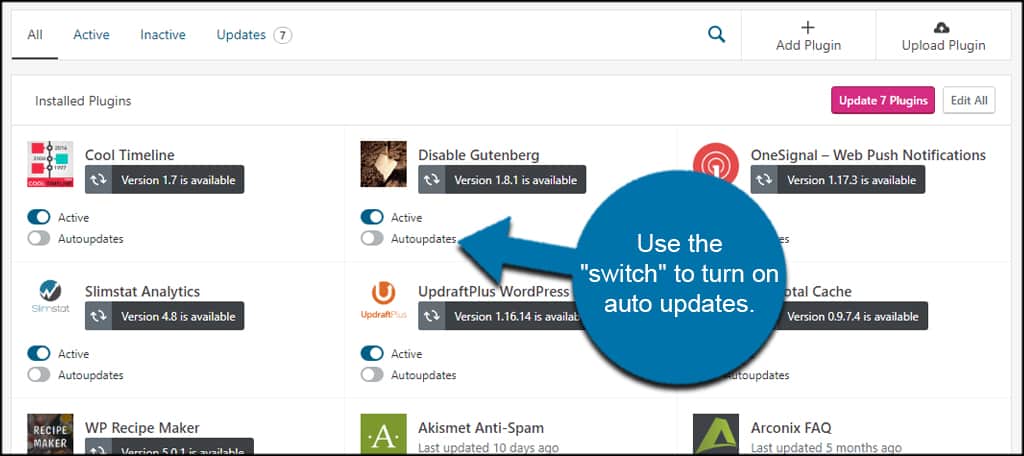
The process is automatic, meaning you don’t have to do anything more than flip the plugin’s switch.
The nice thing about this feature is you can pick and choose which plugins to upgrade. This is helpful if you are troubleshooting or have customization in those tools.
When Should You Not Automatically Update Plugins or Themes? #
The only time when you may possibly not want to automatically update plugins or themes is when you’ve made customized changes to files. For instance, updates can overwrite custom code you add to plugin files.
At which point, you would need to input the code again.
This is one of the reasons why many people prefer to use child themes instead. They are often easier to manage, and you don’t lose custom code in the event of an update. This is kind of like keeping a backup copy of your theme allowing you to make adjustments should the parent layout be updated.
Keeping the Site Efficient #
Updating is one of the easiest ways to keep the site efficient and operating well. It protects you from problems that may arise while possibly adding new functions to your tools. Never underestimate the value of keeping files current.
It may just save you a great deal of frustration and downtime.
Do you use a lot of plugins on your site? How often do you perform routine backups?


