While using Windows 10, I’ve found that a lot of older programs won’t install or run correctly in windows 10 because they require previous versions of .NET Framework. Here’s how to enable support for those versions of .NET Framework
Before starting please make sure you have a working internet connection.
1.Click on the START MENU.

2. Click on SETTINGS

3. Type WINDOWS FEATURES in the search box and select (TURN WINDOWS FEATURE ON OR OFF)

4. From the pop up Select .NET FRAMEWORK 3.5/.NET FRAMEWORK 4.8 and Click OK

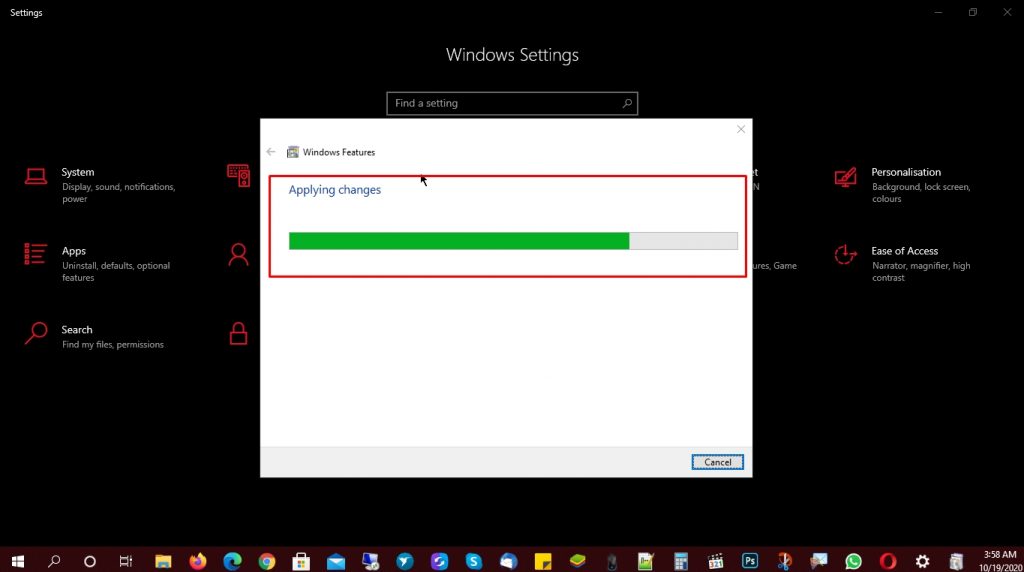
5. Select LET WINDOWS UPDATE DOWNLOAD FILES FOR YOU and Sit back.
It will automatically download the necessary files and enable .Net Framework.


6. Click on Close


